


Get your project design
Rather email us?
Send emailNeed To Create A Floor Plan?
No problem! A floor plan with complete measurements, along with door style preference, will help our professional designers to create your custom kitchen. Our online floor plan tool with instructional video, will walk you through the steps.
- Draw and measure your walls in a clockwise fashion
- Place services, windows, and entryways
- Submit your kitchen design request via the floor plan tool
How to Design
Shaker Grey
Free & Easy!
Time-Travel Transformation: 1980s Mobile Home Cabinet Refacing Magic!
Customer Reviews

Already Have A Floor Plan?
Great! Having your floor plan measurements (including windows, entryways, appliance locations, and ceiling height), as well as your door style preference will help us to quickly complete your dream kitchen design.
- One-on-one kitchen design consultations
- Realistic 3D renderings
- Detailed quote with custom SKUs available
Your Ultimate Kitchen Planning Guide: From Dream to Reality
Embarking on a kitchen renovation is an exciting journey! Whether you're a seasoned DIY enthusiast or looking for a professional touch, our comprehensive guide will walk you through every step of planning your dream kitchen.
We offer both Ready-to-Assemble (RTA) and Pre-Assembled cabinets, giving you the flexibility and quality you deserve.
Step 1: Envisioning Your New Kitchen – Define Your Needs & Style
A. Define Your Kitchen's Purpose
- How do you use your kitchen? Family hub, gourmet space, or cozy nook?
- Who uses the kitchen? Consider ages and accessibility needs.
- What are your storage needs?
- What are your entertaining habits?
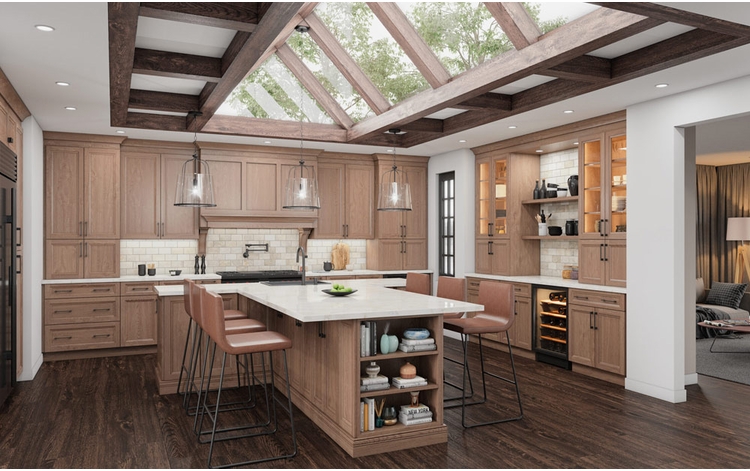
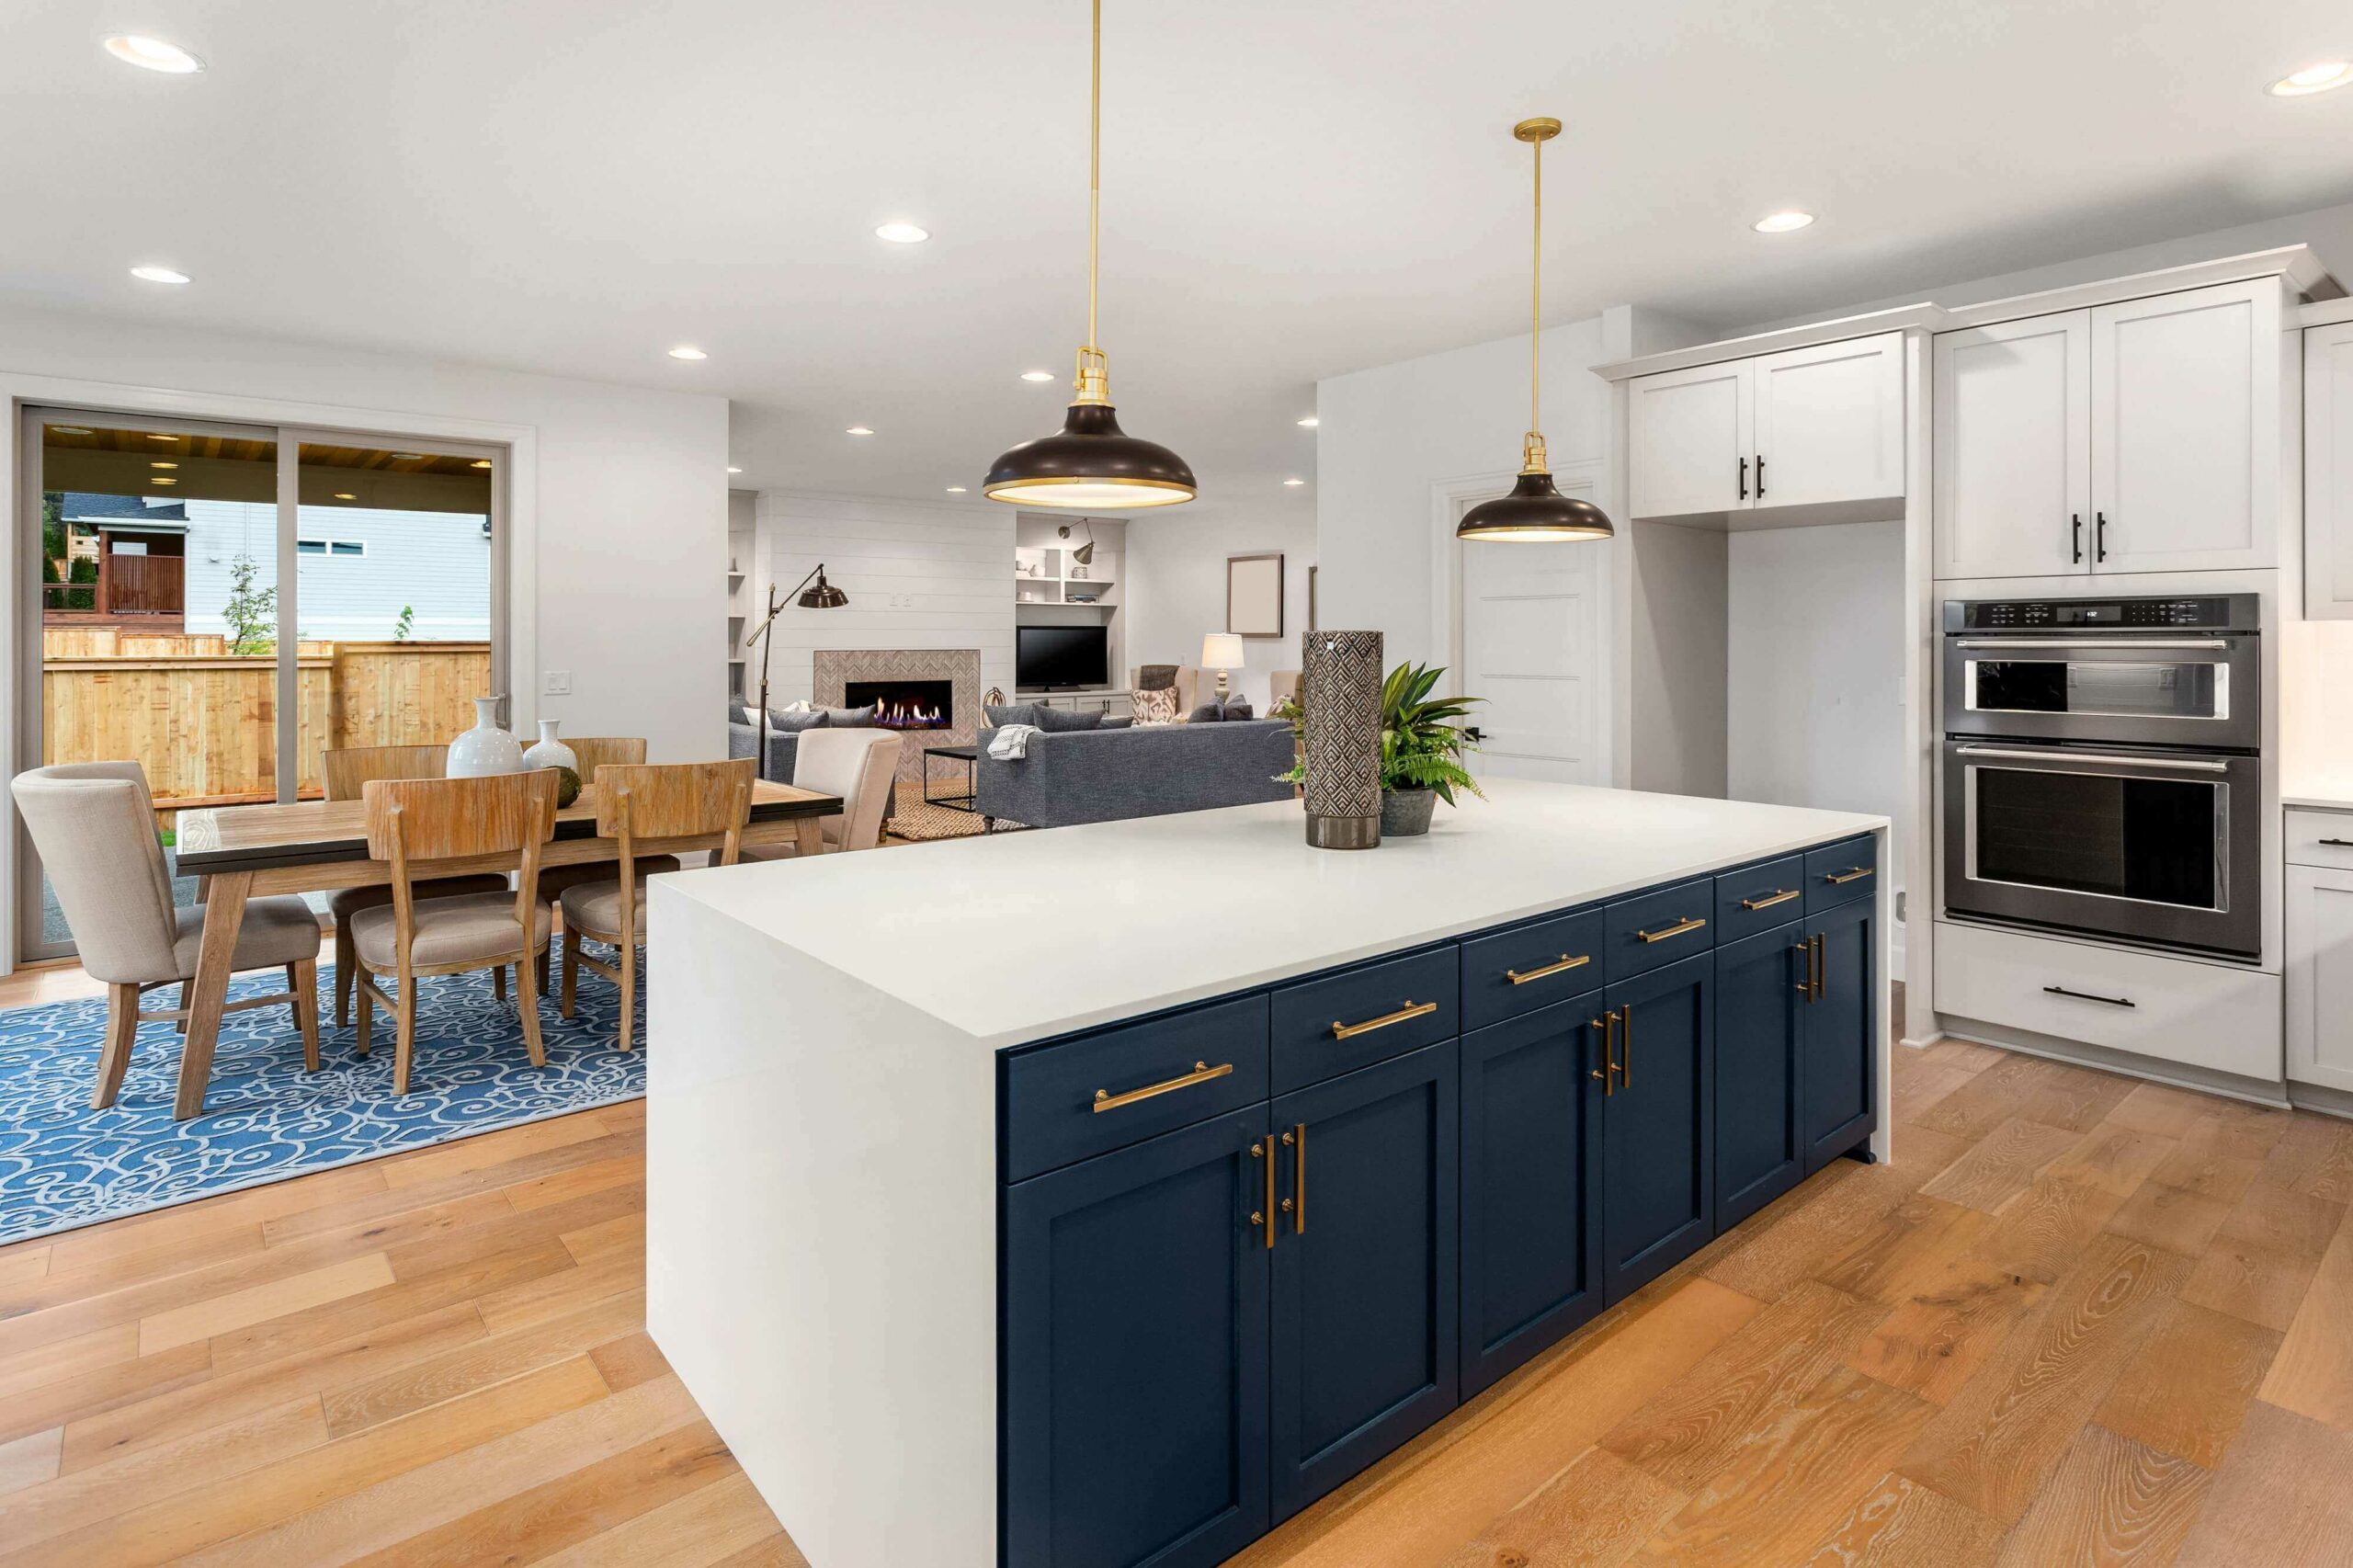
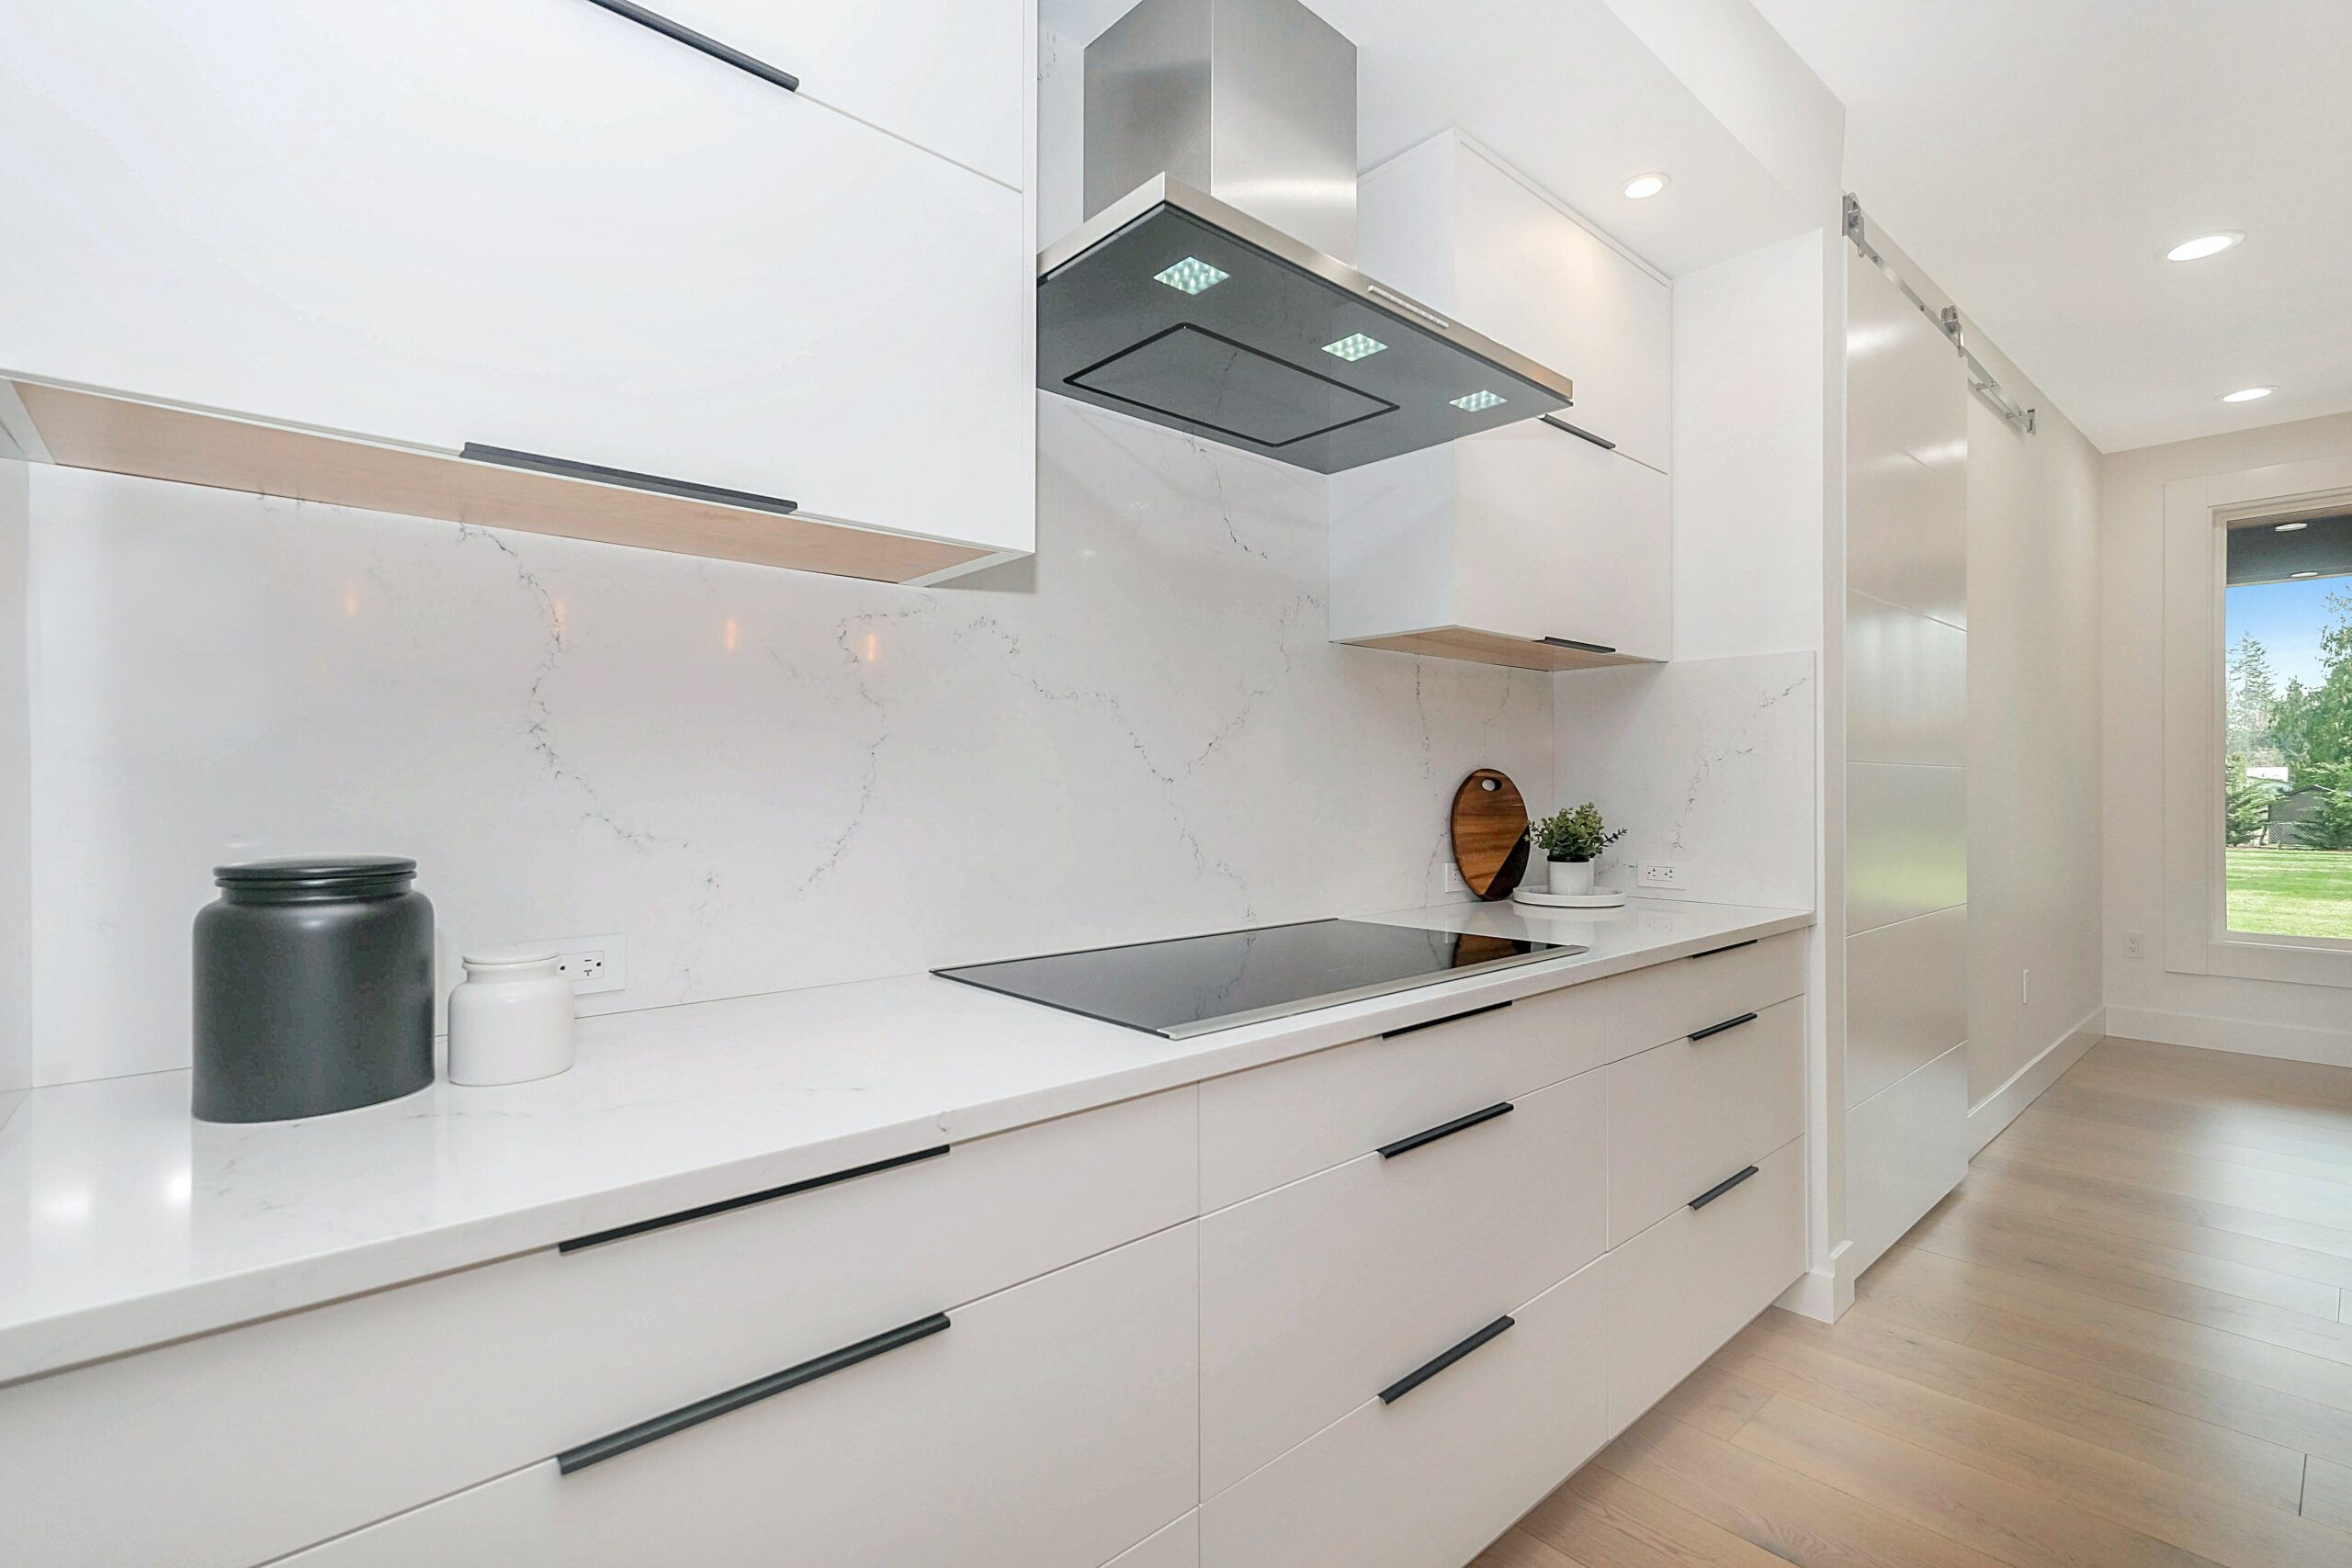
B. Determine Your Kitchen Style
- Modern/Contemporary: Sleek lines, minimalist design.
- Traditional: Ornate details, raised-panel doors.
- Transitional: Blend of modern and traditional.
- Farmhouse: Rustic charm, distressed finishes.
- Shaker: Clean lines, recessed panel.
C. Set Your Budget
- Cabinet Costs: RTA vs. Pre-Assembled.
- Other Costs: Appliances, countertops, flooring, labor.
Step 2: Accurate Measurement & Layout Planning
A. How to Measure Your Kitchen
- Tools: Tape measure, pencil, graph paper.
- Measure three times for accuracy.
- Sketch your layout with doors, windows, and utilities.
- Measure walls, windows, doors, obstructions, and ceiling height.
- Note appliance locations and dimensions.
B. Understanding the Kitchen Work Triangle
- Each leg: 4–9 feet; total: 13–26 feet.
- Ensure no traffic cuts through the triangle.
C. Popular Kitchen Layouts
- U-Shaped: Great for large kitchens.
- L-Shaped: Ideal for open layouts.
- Galley: Compact and efficient.
- One-Wall: Space-saving.
- Island/Peninsula: Adds workspace and storage.
Step 3: Choosing Your Cabinets – RTA vs. Pre-Assembled
A. Ready-to-Assemble (RTA) Cabinets
What They Are: Flat-packed, self-assembled with instructions.
- Benefits: Cost-effective, DIY-friendly, quick shipping.
- Considerations: Time and basic tools required.
- Ideal For: DIYers, budget-conscious renovators.
B. Pre-Assembled Cabinets
What They Are: Fully built, ready to install.
- Benefits: Saves time, expert construction, immediate install.
- Considerations: Higher cost, larger shipping footprint.
- Ideal For: Busy homeowners seeking convenience.
C. Cabinet Construction & Materials
- Box Construction: Plywood or MDF options.
- Door & Drawer Fronts: Solid wood, MDF, or TFL.
- Hardware: Soft-close hinges, full-extension glides, durable metal parts.
Step 4: Design & Planning with Our Experts
A. Utilizing Our Online Design Tools
- Interactive kitchen planners.
- Explore styles in our virtual showroom.
B. Complimentary Design Consultation
- Submit your measurements and ideas.
- Get personalized layouts and 3D renderings.
- Expert advice and accurate quotes.
Step 5: Ordering & Delivery
A. Reviewing Your Order
- Double-check designs, sizes, and accessories.
B. Production & Shipping Timelines
- RTA: Faster turnaround.
- Pre-Assembled: Longer lead time.
C. Receiving Your Delivery
- Inspect packages for damage.
- Inventory check on delivery.
- Store in dry, flat location.
Step 6: Assembly & Installation
A. RTA Cabinet Assembly Tips
- Read instructions and organize parts.
- Basic tools: screwdriver, mallet, drill, level.
- Watch our guides and tutorials.
B. Installation Guidance
- Prep your kitchen space.
- Install wall cabinets first, then base cabinets.
- Secure cabinets and install trim and hardware.
C. Professional Installation Option
If DIY isn't for you, we can connect you with trusted professionals.
Step 7: The Finishing Touches & Enjoying Your New Kitchen
A. Countertops & Backsplash
- Select materials that complement your kitchen style.
- Professional installation recommended for countertops.
B. Appliances & Fixtures
- Install appliances and lighting.
- Hire professionals for plumbing and electrical work.
C. Organization & Decor
- Load up your cabinets.
- Decorate with personal touches.
Maintenance & Care
- Clean regularly with mild soap and a soft cloth.
- Wipe up spills immediately.
- Maintain proper humidity.
- Protect from direct sunlight and heat.
Ready to Start Planning Your Dream Kitchen?
We're here to help every step of the way.